5 Simple Steps to Make a DIY Ceramic Vase
In this post, you’ll learn how to make a DIY ceramic vase!
I recently moved into a new apartment, and it’s been so much fun looking for cute decor. But sometimes, I look at something in a store and think to myself “I could make this at home for way cheaper”. I had my eye on rustic ceramic vases in neutral/minimal colours. Depending on the store, they ranged from $30-$50 to buy new!
So, I decided it would be a fun project to make a DIY ceramic vase! Honestly, I think this DIY turned out SO cute and I’m excited to make more. They would also be such great gifts for friends and family!
Best of all, this DIY project was cheap. I was able to buy most supplies at the thrift store or dollar store, which is amazing. If you want to learn how I made my DIY ceramic vase, keep reading!
Make the DIY ceramic vase in 5 easy steps.
DIY Ceramic Vase
1. Gather Your Materials
First, you need to gather your materials to create your DIY ceramic vase. You’ll need:
- Clear Matte spray paint
- Bowl to mix paint – any bowl you have laying around your home will work
- Foam brush – if you don’t want to buy a whole set, I bought a single brush from Home Depot for less than $1!
- Baking soda
- Acrylic paint – this is the exact paint I bought, but it was waaay cheaper at the dollar store
- Vase – I got mine from a thrift store for $1.99! You could also use an old vase you have in your home that you want to upcycle
2. Mix the Paint and Baking Soda
To create the ceramic-like texture, mix your acrylic paint and baking soda together. I’d say the ratio was about 1 tsp baking soda per 1/4 cup paint, but you can adjust as needed and depending on how you want it to look. When you start to mix, it should form a mousse-like texture.
TIP: Acrylic paint stains! Make sure you wear something that’s ok to have a paint stain or two. Also, lay down newspaper or something that can get dirty.
3. Apply a Base Coat
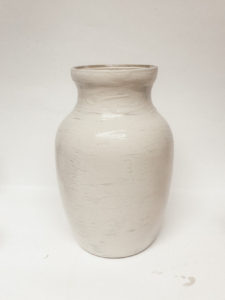
Next is the fun part where you get to actually paint the vase! I recommend doing horizontal strokes, this will give your vase an authentic pottery-like feel.
When doing your first coat, it will look watery and you may be able to see the glass through the paint. Don’t panic, as you add layers it won’t look see-through or streaky.
Allow your first coat to dry. It may take about 20-30 minutes!
TIP: If you’re like me and are too impatient to wait 20-30 minutes for paint to dry, you can speed up the process using a hairdryer. Don’t hold the hair dryer too close to the vase though, it can disperse the paint.
4. Apply Additional Coats
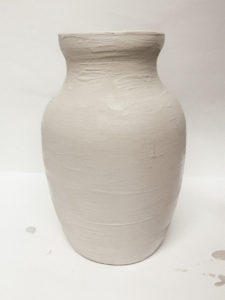
Once you’ve let the first coat dry, repeat the same painting process with a second coat. Continue with horizontal strokes, and you’ll notice the layering creates some texture on your vase! Allow the second coat to dry.
Every DIY will be different, so you can always add a third coat if you’re not satisfied with the texture after the second coat. Or, you could even add more baking soda to your mixture to make it a thicker paste.
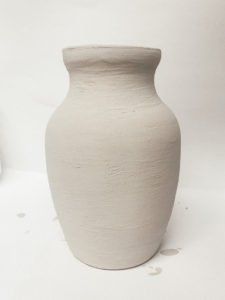
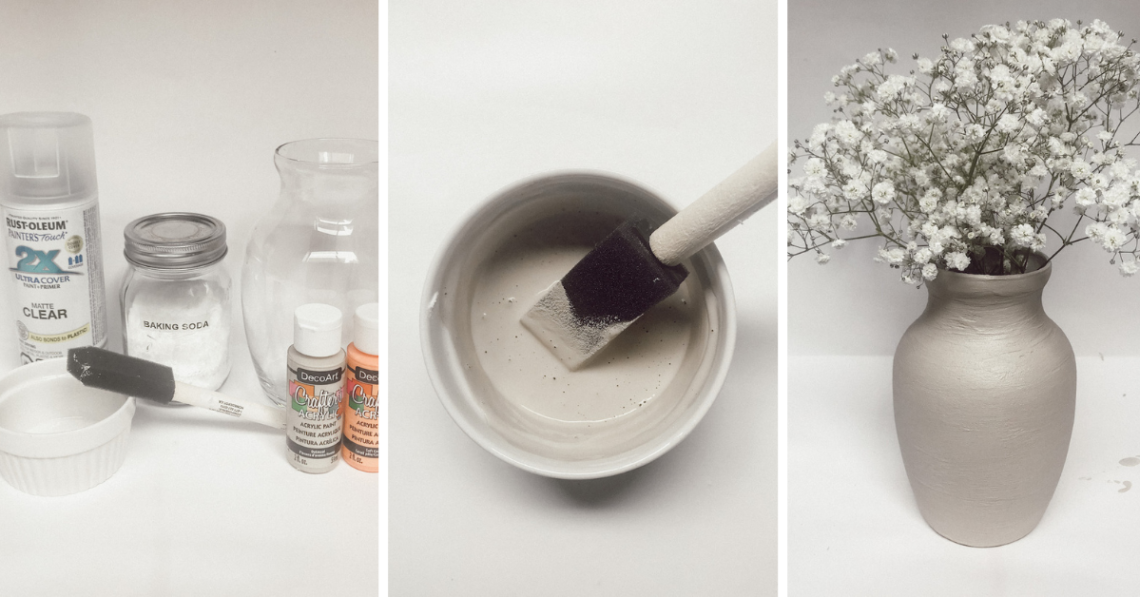
I decided to do a third coat on mine. You can see that after my third coat (above), I really got that textured look that I was going for. Can you believe that this used to be a basic glass vase?
5. Spray the Finish
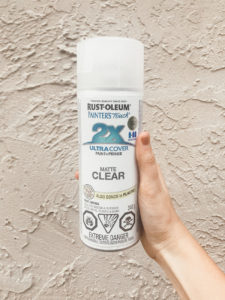
You’ll definitely want to move outside for this last step. Follow the instructions on the spray paint bottle to add your finishing coat. The spray paint will help protect your paint and give it a more polished look. Make sure to give your vase lots of time to dry before you move it.
Enjoy!
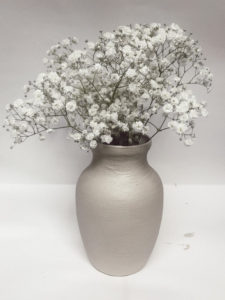
In 5 easy steps, you’ll have an amazing vase that you can use and display! I think it would look so cute if you painted different colours on a few vases of various shapes/sizes.
Let me know if you try this DIY! I’d love to know how it turned out.
This post was all about how to make a DIY ceramic vase!
Other posts you’ll love:
You May Also Like
How To Make a Homemade Birthday Card in 4 Easy Steps
January 24, 2021
9 Clever Ways to Organize Your Closet
October 8, 2023